

Table of Contents
- What is a Tar and Chip Driveway?
- How to Install Tar and Chip Driveway: Step-by-Step Process
- Tar and Chip Driveway Pros and Cons
- Tar and Chip Driveway Maintenance Tips and Lifespan
Last Updated: August 7, 2026
What is a Tar and Chip Driveway?
A tar and chip driveway combines hot liquid asphalt with crushed stone chips to create a durable, textured driving surface. The bitumen locks stone chips in place, preventing scattering whilst remaining more affordable than hot-mix asphalt. Installation requires precise timing and technical skill, once the asphalt distributor applies bitumen, stone spreading must occur within minutes before the binding agent cools, followed by roller compaction to consolidate the aggregate into a weather-resistant surface.
How to Install Tar and Chip Driveway: Step-by-Step Process
Installing a tar and chip driveway involves careful preparation and sequential steps executed in the correct order.
Step 1: Assess and Prepare the Site
Evaluate the existing driveway condition and measure the total area. Remove loose material, debris, and vegetation. Ensure proper drainage so water flows away from the property, poor drainage is a primary reason tar and chip surfaces fail prematurely, particularly in Norfolk’s wet climate.
Step 2: Construct the Base Layer
A solid foundation is non-negotiable. The base layer typically consists of compacted hardcore or recycled asphalt, laid to 100-150mm depth depending on soil conditions and traffic. This sub-base must be properly compacted using mechanical equipment to achieve required density. Inadequate compaction leads to premature cracking and sinking within months.
Step 3: Apply the Bitumen Layer
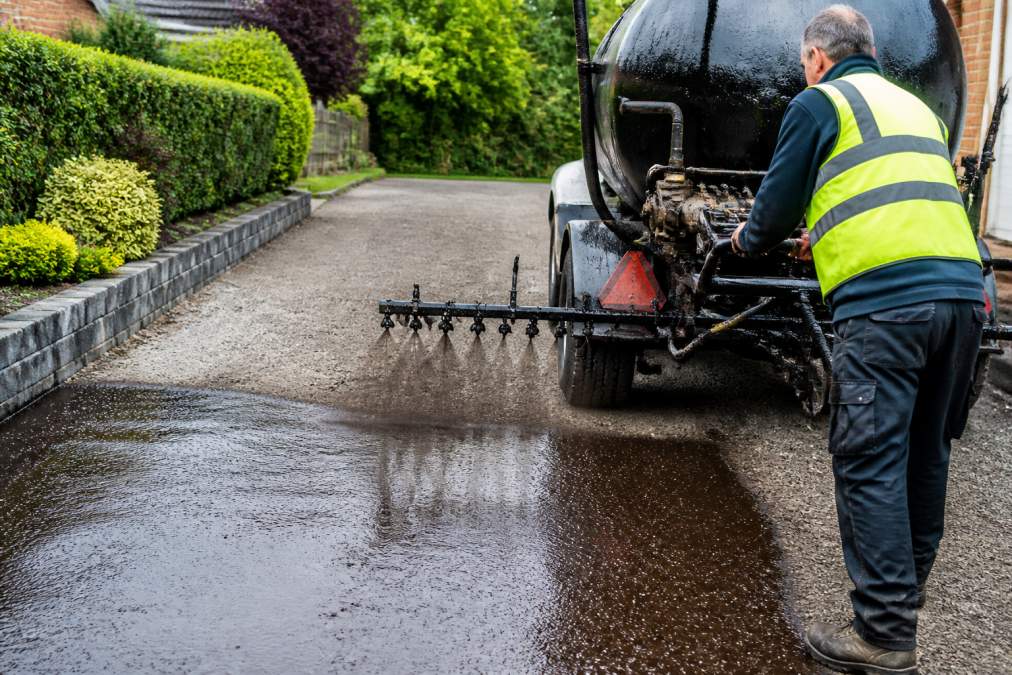
Bitumen emulsion is applied using a specialist asphalt distributor at controlled temperature and application rates, typically between 1.5 and 2.5 litres per square metre. Too little bitumen results in poor binding; too much creates a sticky, uncompacted surface.
Step 4: Spread the Stone Chips
Immediately after bitumen application, crushed stone chips must be spread across the surface whilst the bitumen is hot and tacky. The aggregate is typically spread to 12-15mm depth, ensuring complete coverage. Granite or limestone chips are preferred for their weather resistance and skid resistance.
Step 5: Compact the Surface
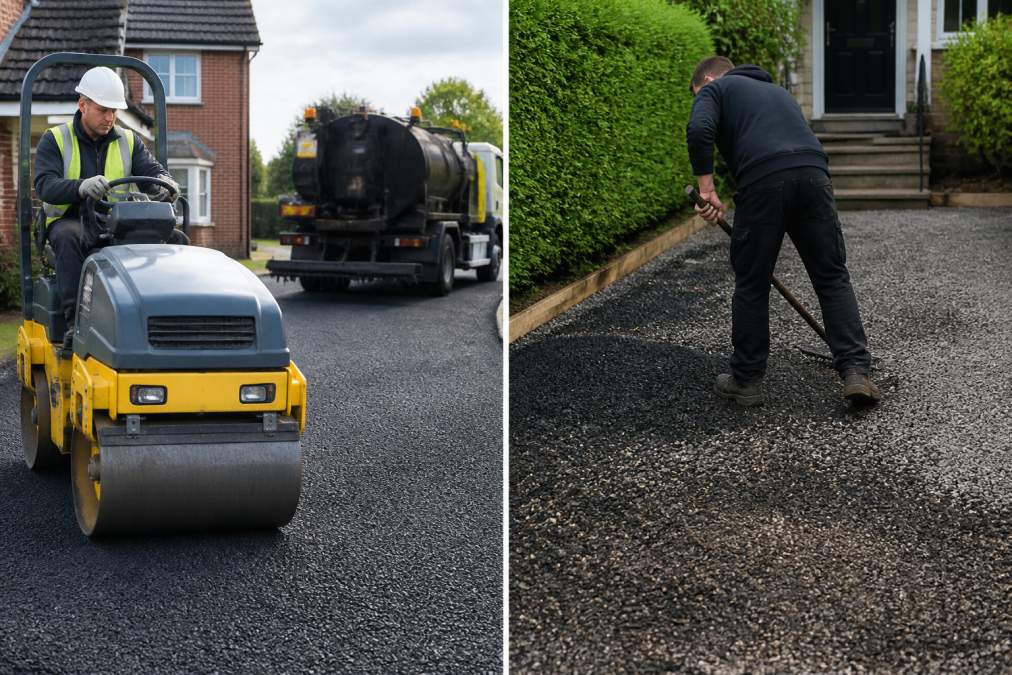
A heavy vibrating roller weighing 8-10 tonnes passes over the surface multiple times, embedding chips firmly into the bitumen and creating a solid, interlocked surface. This skilled work requires experience and proper equipment.
Step 6: Allow Curing Time
The tar and chip driveway must cure before handling vehicle traffic. Curing time typically ranges from 7 to 14 days, depending on temperature and weather conditions. In Norfolk’s cooler climate, curing may take longer.
Tar and Chip Driveway Pros and Cons
Advantages of Tar and Chip Driveways
Installation is less expensive than full hot-mix asphalt, making it accessible for budget-conscious homeowners. The rustic, textured appearance appeals to those seeking a more natural aesthetic. The bitumen binding prevents stone from scattering, reducing constant raking and replenishment. The surface typically lasts 5-7 years before requiring resurfacing. The permeable nature supports SUDS compliance for UK driveways, and the surface provides adequate grip for vehicles and pedestrians in wet conditions.
Disadvantages of Tar and Chip Driveways
Tar and chip surfaces don’t last as long as properly installed hot-mix asphalt or resin bound alternatives. Heavy vehicles, frequent traffic, or harsh weather accelerate deterioration. In Norfolk’s wet climate, freeze-thaw cycles can damage the surface. Some chips may work loose, particularly at edges or in high-traffic areas, requiring periodic top dressing. The surface can become tacky in very hot weather and may develop ruts under concentrated traffic loads. Repair is less straightforward than asphalt, as patching requires reheating and reapplying bitumen with fresh stone. The surface is also vulnerable to oil and fuel spills, which soften bitumen and cause staining.
DIY vs. Professional Installation: What You Need to Know
Attempting tar and chip installation without professional equipment and expertise carries significant risks that often outweigh cost savings.
Why Professional Installation Matters
An asphalt distributor, essential for applying hot bitumen at precise temperatures and rates, is critical for proper application and not readily available for hire. Professional installers bring experience in base preparation, where most DIY attempts fail. Norfolk’s varying soil types demand different preparation approaches that professionals understand. The timing demands of tar and chip installation are unforgiving, the bitumen must be applied, stone spread, and compaction completed within a narrow window.
Common DIY Failures
Inadequate base preparation leads to settlement and cracking within the first year. Poor bitumen application, either too little, too much, or at incorrect temperatures, results in loose stones or a sticky surface. Uneven stone spreading creates bald patches, and insufficient compaction leaves the surface unstable.
The Value of Professional Installation
Hiring a professional contractor ensures installation meets British Standards and provides a durable result. KT Lake Paving and Landscaping, as a Brett Approved Premier Installer based in Norfolk, brings over 30 years of industry experience to every project. The company’s workmanship meets or exceeds approved British Standards, backed by a 10-year product guarantee from Brett.
Tar and Chip Driveway Maintenance Tips and Lifespan
Expected Lifespan
A well-installed tar and chip driveway typically lasts 5-7 years under normal residential use. In Norfolk’s climate, with frequent rainfall and occasional freeze-thaw cycles, durability may fall toward the lower end. Heavy traffic, inadequate base preparation, or poor maintenance can reduce lifespan to 3-4 years.
Regular Maintenance Schedule
Sweep the driveway regularly to remove debris and prevent water pooling. Remove fallen leaves and moss promptly, as organic matter traps moisture and accelerates bitumen degradation. Inspect the surface quarterly for damage, cracks, loose stones, or settlement. Fill minor cracks with proprietary crack sealant to prevent water infiltration.
Seasonal Care
In autumn, keep the surface clear of leaves and organic matter. Winter requires particular attention in Norfolk, salt or grit applied for de-icing can damage bitumen if not managed carefully. Rinse the surface after winter weather to remove salt residue. Spring is ideal for thorough cleaning and inspection. Pressure wash at low pressure (below 80 bar) to avoid surface damage.
Top Dressing and Resurfacing
As the surface ages, periodic top dressing, applying fresh bitumen and stone, can extend life by 2-3 years. When cracks become widespread or stone loss exceeds 20% of the surface area, complete resurfacing is necessary.
Environmental Considerations and SUDS Compliance
Tar and chip driveways support sustainable drainage systems (SUDS) compliance, as the permeable surface allows water infiltration. This reduces surface water runoff and supports groundwater recharge, important for flood-prone Norfolk areas.
Protecting your driveway investment requires choosing the right installation method and contractor. A tar and chip driveway can provide years of reliable service when properly installed and maintained, but the process demands professional expertise and specialist equipment. KT Lake Paving and Landscaping offers free, no-obligation estimates and consultations for homeowners in Norfolk considering tar and chip or alternative surfacing solutions. With Brett Approved Premier Installer status and a 10-year product guarantee, the team ensures every installation meets rigorous British Standards and delivers the durability your property deserves.
Frequently Asked Questions
Can I install a tar and chip driveway myself?
Installing tar and chip requires specialist equipment, including an asphalt distributor and roller compaction machinery, plus expertise in base preparation and bitumen application. Whilst DIY installation is technically possible, professional contractors have the tools, experience, and insurance to ensure proper compaction, correct curing times, and adherence to British Standards. Poor base preparation or incorrect bitumen temperature can lead to premature failure, loose gravel, and drainage issues within months.
How long does a tar and chip driveway last in the UK?
A well-installed tar and chip driveway typically lasts 5 to 7 years with regular maintenance, though this varies based on climate, traffic volume, and care. UK weather, particularly freeze-thaw cycles and heavy rain, can reduce lifespan if drainage is inadequate. Professional installations with proper sub-base preparation and sealer application often extend durability. Annual maintenance, including top dressing and prompt pothole repair, significantly extends the driveway's lifespan.
What is SUDS compliance and do I need it for my driveway?
SUDS (Sustainable Drainage Systems) compliance is a UK planning requirement for new driveways and hard surfaces. It ensures water drains properly rather than running off into the mains system. Tar and chip driveways offer good permeability compared to solid asphalt, supporting SUDS principles. However, specific requirements depend on your local authority in Norfolk. Before installation, check with your local planning department to confirm whether SUDS compliance applies to your project and what drainage measures are needed.
What materials do I need for a tar and chip driveway?
The primary materials are hot liquid asphalt (bitumen), crushed stone chips (aggregate), and a stable sub-base layer. The sub-base typically consists of compacted hardcore or recycled aggregate, topped with a binding layer. Professional installers also use polymer-reinforced bitumen for improved weather resistance and may apply a sealer for added durability. The exact material specifications depend on driveway dimensions, traffic load, and local soil conditions, factors a professional surveyor assesses during the planning phase.


