

Table of Contents
- What You’ll Need Before Starting
- Step 1: Excavate and Clear the Area
- Step 2: Lay MOT Type 1 Sub-Base at the Right Depth
- Step 3: Select the Best Tools for Driveway Excavation and Compaction
- Frequently Asked Questions
Last Updated: September 2, 2026
What You’ll Need Before Starting
Preparing ground for block paving step by step requires careful planning and the right equipment from the outset. Before breaking ground, gather essential materials including MOT Type 1 sub-base material, a compactor plate, a wheelbarrow, a spade, a rake, and a level. Most homeowners also benefit from hiring professional-grade tools rather than purchasing them outright, particularly for compaction work.
The depth of preparation depends on your specific site conditions and local drainage requirements. Soft ground, clay soil, and areas with poor natural drainage demand more substantial sub-base depth than well-drained sandy sites. Understanding your soil type before you start saves time and prevents costly rework later.
Step 1: Excavate and Clear the Area
The first stage of how to prepare ground for block paving step by step involves removing existing surfaces and loose material. Excavate to the required depth, typically 100-150mm below your finished paving level, depending on whether you’re installing block paving over existing tarmac or bare ground (gov.uk). Clear away all vegetation, roots, and debris that could compromise the finished surface.
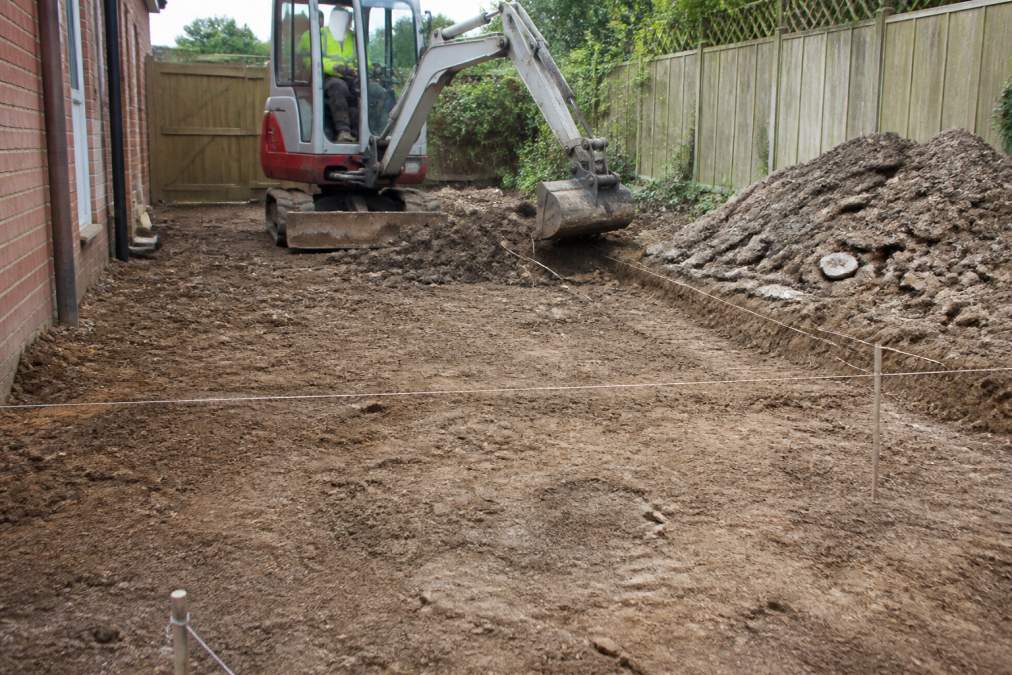
Remove any old paving, gravel, or tarmac completely. Partial removal creates weak points where settling can occur. Dispose of excavated material responsibly, many waste contractors in Norfolk offer recycling services for inert materials. Once cleared, inspect the exposed ground for soft spots, standing water, or unstable areas that may need additional preparation.
Step 2: Lay MOT Type 1 Sub-Base at the Right Depth
MOT Type 1 sub-base depth is critical for long-term stability. The standard recommendation is 100mm of compacted MOT Type 1 material for residential driveways, though heavy-use areas may require 150mm (gov.uk). This material, a well-graded mix of crushed stone and binding fines, compacts firmly and provides excellent drainage.
Spread the MOT Type 1 evenly across the prepared area using a rake. Avoid dumping it in piles and compacting unevenly, as this creates soft spots. Work methodically across the entire surface, ensuring consistent thickness. The material should bind together during compaction, creating a solid, stable base that won’t shift under the weight of vehicles or foot traffic.
Step 3: Select the Best Tools for Driveway Excavation and Compaction
The best tools for driveway excavation and compaction determine the quality of your finished surface. For excavation, a small digger (3-5 tonne) is ideal for residential driveways, offering precision without excessive ground disturbance (citb.co.uk). For compaction, a compactor plate hire is the standard choice, these machines vibrate at high frequency, forcing particles together and creating a dense, stable base.
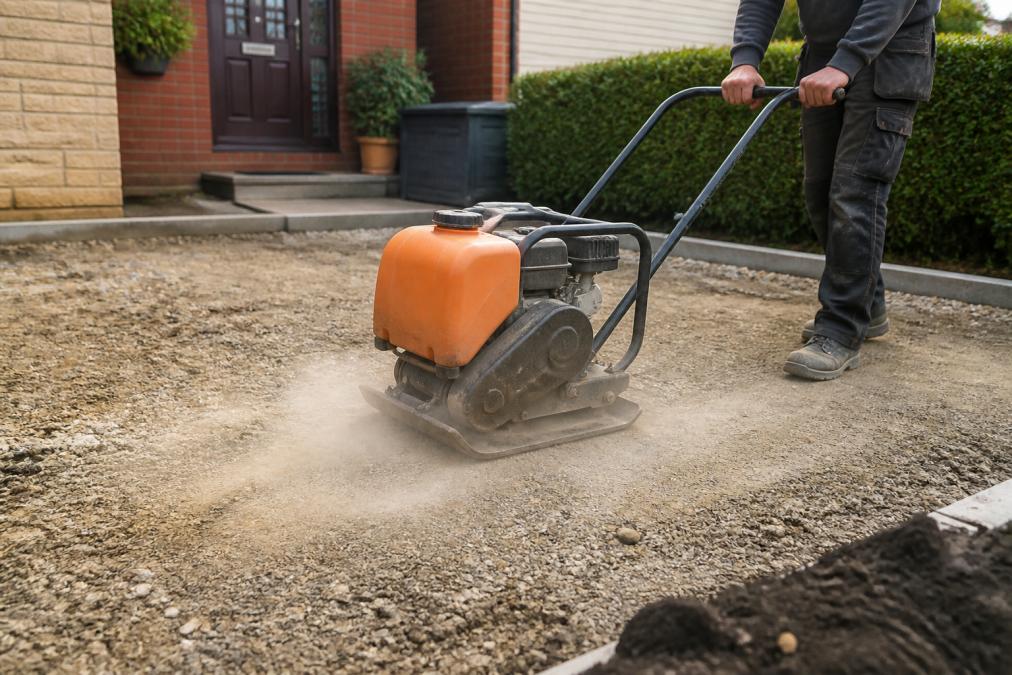
Compactor plate hire is widely available across Norfolk. Hand-operated vibratory plates work well for smaller areas, whilst walk-behind or ride-on models suit larger driveways. Ensure the operator makes multiple passes over each section, moving in overlapping lines to avoid missed spots. The finished surface should feel rock-solid underfoot and show no movement when you apply pressure.
Preparing your driveway properly transforms the longevity and appearance of your finished paving. When how to prepare ground for block paving step by step is done correctly, block paving installations last decades without settling or cracking. KT Lake Paving and Landscaping brings over 30 years of experience to every ground preparation project, ensuring your sub-base meets British Standards and delivers lasting results. Request a free, no-obligation estimate to discuss your specific site conditions and receive expert guidance tailored to your property.
Frequently Asked Questions
How deep should I dig when preparing ground for block paving?
Excavation depth depends on your finished surface level and sub-base requirements. Most block paving projects require 100-150 mm of MOT Type 1 sub-base, so you’ll typically dig 150-200 mm below your desired finished height. This allows room for the sub-base, geotextile membrane, sand layer, and blocks themselves. Always account for adequate drainage slope. If you’re unsure of your specific requirements, a professional survey will confirm the exact depth needed for your site.
What type of sub-base is required for block paving?
MOT Type 1 is the standard sub-base material for block paving in the UK. It’s a well-graded, compacted aggregate that provides a stable foundation and allows water drainage. MOT Type 1 should be compacted in layers to achieve proper density. The depth typically ranges from 100-150 mm depending on ground conditions and traffic loading. For areas with poor existing soil or high traffic, thicker sub-base or additional layers may be necessary. Always check local building control guidance for your specific circumstances.
Do I need a geotextile membrane under my block paving?
A geotextile membrane is highly recommended for most block paving installations. It prevents sub-base material from migrating into the soil below, maintains structural integrity, and improves long-term drainage performance. Geotextile is particularly important on clay soils or areas with poor drainage. It sits between the prepared ground and the MOT Type 1 sub-base. This simple addition significantly extends the life of your paving and reduces the risk of settling or subsidence.


