

Table of Contents
- How to Lay Resin Over Tarmac: What You Need to Know First
- Step 1: Inspect and Repair Cracks in Existing Tarmac
- Step 2: Clean and Prepare the Surface
- Step 3: Prepare the Sub-Base and Apply Primer
Last Updated: August 2, 2026
How to Lay Resin Over Tarmac: What You Need to Know First
Understanding how to lay resin over tarmac requires careful preparation and attention to detail. Many property owners underestimate the importance of foundation work before any resin is applied. At KT Lake Paving and Landscaping, we’ve seen firsthand how poor surface preparation leads to premature failure. The difference between a durable driveway and one that fails within two years often comes down to whether the existing tarmac base was properly assessed and repaired before resin application.
This guide covers the critical preparation phases that most DIY guides skip over entirely. Before mixing any resin or aggregate, your tarmac needs structural evaluation, crack repair, thorough cleaning, and primer application.
The real problem with resin-over-tarmac projects isn’t the resin itself, it’s that most installations fail because the existing tarmac wasn’t fit for overlay in the first place. A proper site survey catches this before you commit time and materials.
Step 1: Inspect and Repair Cracks in Existing Tarmac
Your first task is to assess whether the existing tarmac is structurally sound enough to support a resin overlay. Not all tarmac bases are suitable candidates. If the sub-base has failed or the tarmac is severely cracked and breaking apart, laying resin over it will simply trap the problem underneath.
Inspect the entire surface for cracks wider than 3mm, soft patches where the tarmac feels spongy underfoot, and areas where pieces are lifting or breaking away. Deep cracks indicate water penetration and sub-base deterioration. According to guidance on resin-bound surface preparation from the Interpave trade association, cracks wider than 5mm should be repaired or the base rejected for overlay.
For hairline cracks under 3mm, clean them out with a wire brush and fill with flexible bitumen filler. For cracks between 3-5mm, use a proper tarmac repair compound that bonds to the existing surface. Larger cracks or spalling mean the sub-base is likely compromised, and a full replacement may be more cost-effective than an overlay that may fail within a few years.
If you find soft, spongy areas when you press down on the tarmac, or if you can see daylight through gaps in the surface, the sub-base has failed. Laying resin over this will only delay the inevitable collapse by 12-24 months.
Test the structural integrity by walking the entire surface and noting any areas that flex or move underfoot. Mark these areas clearly. They indicate either poor compaction of the original tarmac or sub-base failure.
Step 2: Clean and Prepare the Surface
Once you’ve confirmed the tarmac is suitable for overlay, the surface must be cleaned to bare material. Any dirt, algae, oil, or loose material will prevent the primer and resin from bonding properly.
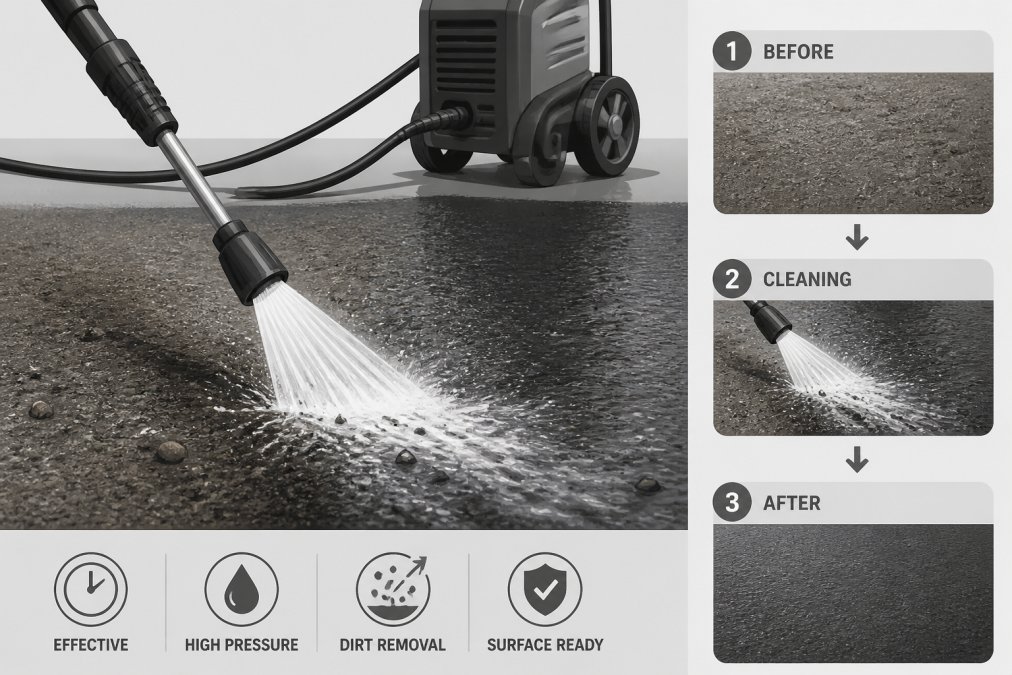
Use a pressure washer set to 150-200 bar to remove all surface contamination. Work systematically across the entire area, overlapping each pass to ensure even cleaning. Pay particular attention to areas where water sits, as these typically have algae and moss growth that must be completely removed. Allow the surface to dry fully before moving to the next step. In Norfolk’s climate, this typically requires 24-48 hours of dry weather.
For oil stains or heavily contaminated areas, apply a degreaser and let it sit for 15-20 minutes before pressure washing. The tarmac surface should look uniform in colour when clean, dark grey or black with no visible dirt or discolouration.
Don’t pressure wash immediately before applying primer. The surface must be completely dry. Moisture trapped in the pores of the tarmac will prevent the primer from bonding, leading to delamination within weeks.
Step 3: Prepare the Sub-Base and Apply Primer
Before the resin goes down, the surface must be sealed with a primer coat. This is the critical bond layer between the tarmac and the resin system. The primer fills the pores in the tarmac and creates a mechanical key for the resin to grip.
Inspect the cleaned surface one final time for any remaining debris, dust, or damp patches. Use a stiff brush to remove any loose material. Moisture content in the tarmac should be below 4%. If you’ve had rain within 48 hours, wait longer.
Apply the primer according to the resin system manufacturer’s instructions. Most primers are rolled or sprayed on and require 2-4 hours to cure before the resin aggregate can be laid. Coverage is typically 1-1.5 litres per square metre. The primer should be applied evenly, as visible thin patches will result in poor adhesion in those areas.
The primer coat is where many installers cut corners, assuming it’s a minor step. In reality, it’s the foundation of the entire installation. A properly primed surface will hold the resin system firmly in place for a decade or more. A poorly primed surface will see the resin separate from the tarmac within 12-18 months.
| Preparation Step | Critical Success Factor | Common Failure Point |
|---|---|---|
| Crack repair | Cracks filled completely, no voids | Incomplete filling, using wrong filler type |
| Pressure washing | Surface completely clean, fully dry | Residual moisture, incomplete algae removal |
| Primer application | Even coverage, correct cure time | Thin patches, applying resin before primer cures |
| Sub-base assessment | No soft spots, proper compaction | Proceeding despite signs of sub-base failure |
British Standards for resin-bound surfaces BS 7533-12 specify minimum requirements for substrate preparation. These standards require that existing tarmac be assessed for suitability before overlay, cracks repaired, and surfaces cleaned to remove all loose material.
The preparation phase typically takes 2-3 days from start to finish, depending on the size of the area and weather conditions. Rushing this phase is the single most common cause of resin-over-tarmac failures.
Professional installation is strongly recommended for areas larger than 30 square metres. The primer cure time and weather sensitivity make DIY attempts prone to failure, and the cost of fixing a failed overlay typically exceeds the original installation cost.
Laying resin over tarmac requires precision in surface preparation that most homeowners underestimate. KT Lake Paving and Landscaping brings over 30 years of experience to this process, completing thorough site surveys before any work begins and ensuring every project meets rigorous British Standards. As a Brett Approved Premier Installer, the team guarantees structural integrity backed by a 10-year product guarantee. For Norfolk property owners considering a resin-bound driveway overlay, a free, no-obligation consultation with KT Lake Paving and Landscaping will clarify whether your existing tarmac is suitable and what preparation costs to expect.
Frequently Asked Questions
Can you lay resin over tarmac that has cracks and damage?
Yes, but cracks must be repaired first. Small cracks (under 5mm) can be filled with bitumen filler, whilst larger ones require proper patching. If the tarmac is severely damaged or showing delamination, the affected section should be cut out and replaced before laying resin. Laying resin over untreated cracks will cause the overlay to fail prematurely as movement beneath will transfer through to the new surface.
What's the difference between DIY installation and hiring a professional for laying resin over tarmac?
Professional installers have equipment for precise mixing ratios, temperature control, and proper compaction of the sub-base. DIY mistakes commonly include incorrect hardener ratios, inadequate surface preparation, and poor curing conditions, all of which lead to cracking, soft spots, or early failure. Professionals also guarantee their work and carry insurance. For small areas, DIY is possible, but larger driveways benefit from professional expertise to ensure the sub-base and structural integrity are correct.
How does resin bound overlay affect drainage and SUDS compliance?
Permeable resin systems are SUDS compliant and allow water drainage, reducing surface water run-off. Non-permeable systems block drainage entirely. When laying resin over tarmac, ensure the existing tarmac or sub-base allows adequate drainage, or water will pool beneath the overlay. Check local planning requirements in Norfolk, as many properties now require SUDS-compliant surfaces. Permeable resin finishes are more expensive but meet environmental regulations and reduce flooding risk on your property.
What weather conditions are essential for laying resin over tarmac?
Lay resin in dry conditions with temperatures between 10°C and 25°C. Humidity should be below 80%. Rain or frost within 24 hours of application will damage the overlay and prevent proper curing. High temperatures accelerate curing but can cause the resin to set too quickly, making trowelling difficult. Winter is challenging due to low temperatures and moisture. Spring and summer are ideal. Always check the weather forecast and allow adequate drying time between surface preparation and resin application.


